Monday, December 3, 2012

Skip counting by 5s using hand prints

Another way to practice counting by 5s (or 10s as well) is using these hand prints we created. They are available for you to download for free by clicking here. You can print them on card stock or regular paper and laminate.

Here is how we used them:
We had the sticky notes up in our reading room. The boys laid out their hand prints in front of the sticky notes and practiced counting by 5s while looking at the sticky notes. When they felt comfortable enough they stopped looking at the sticky notes. 

I also had them jump from card to card while counting out loud.


 Here is another way these hand prints can be used. Have the kids lay them out in front of them and give them some snap blocks and have them build towers using five of the blocks.


Here is what they will end up with. Have them count by fives. 5 fingers equals 5 blocks. If they need explanation, you can use the blocks to count 5+5 = 10... if you add 5 you will end up with 10 blocks/fingers. That is why 5 is followed by 10 in skip counting by 5s. Have fun!


Monday, November 19, 2012

Organs in the spotlight

During our week of organ study, we put together a puppet show for the kids, in which organs were arguing about which one was more important. You can download the script here.


I was very lucky to "inherit" this puppet show theater that was made by my very dear friend Amy. It is just a very simple piece of dark fabric that has a square opening closer to the top. There is a velvet fabric that is used for a curtain in the square opening. It all hangs on a shower curtain rod, which you can adjust to any doorway size. There is a large Home Depot wooden ruler sown into the middle of the theater so that it holds nice and straight.


The kids got complementary drink of water from the kidneys, who reminded them how important it is for them to drink plenty of water.


Say hello to our famous cast. This was a big hit with the kids... and the adults had fun preparing it ;-)


Thursday, November 8, 2012

Label the muscle man

This activity goes under our Human Body study. The second week was all about muscles. We gave the kids a picture of muscle man and had them cut out the labels for different muscles.


Then they had to glue it to the line that points to the right muscle.


Tuesday, November 6, 2012

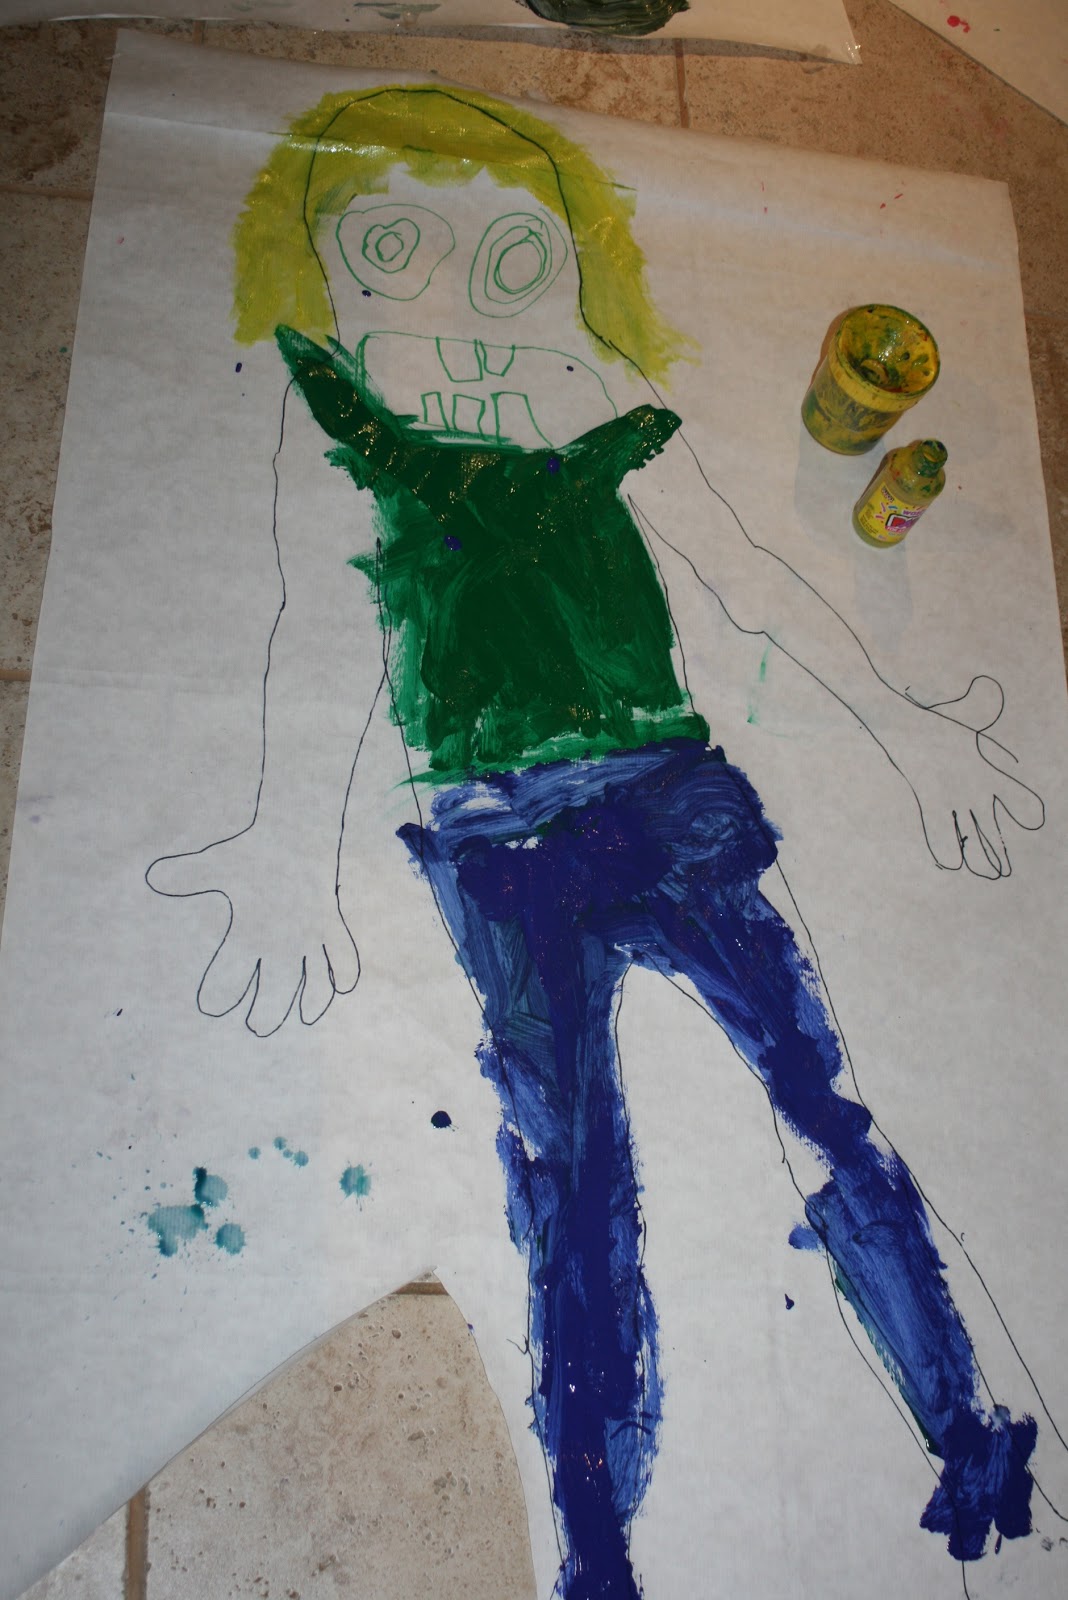
Painting life size "me"

At the beginning of our Human Body unit, we had the kids paint themselves in real size in order to show us how much they know about their bodies. This is what we did:

First we had them lay down on a piece of rolled out paper that is intended for easels. That gave us enough space to trace their body using black washable marker.


We ended up with somewhat accurate outline of a person.


Then we had them color themselves in, using paint. We had them first think about what they might be wearing and what colors they liked.


When they finished, we had them name different parts of their body. This was a little recap of last year's Human Body study for the big kids and a pre-test for the little kids in preschool. 


Fun characters we ended up with, right? Love the smile :-)


It was a bit tough to exhibit their art because of the size, but they had tons of fun making something so "huge" for a change. :-)

Saturday, November 3, 2012

How muscles work

How do muscles help us move? They are attached to our bones by tough, cord-like tissues called tendons, which allow the muscles to pull on bones. We wanted to show the kids how this relationship works and here is how:

You will need:
2 paper towel tubes (bones)
rubber band (tendon)
tennis ball or styrofoam ball (joint)

First punch one hole close to the edge of each tube using hole puncher. Cut your rubber band in half and and tie each end to each hole.


 Then insert the ball (which serves as a joint) between the tubes just like this...


and close it up like that...


Now I simulated the movement by sliding the tubes on the ball, which caused the rubber band to expand. This will help you explain how the muscles move the arm (in this case) by contracting and relaxing.


Have the kids copy the movement with their elbow and have them feel the movement that happens on the inside!


This is how it should look.It is really a great way to show kindergartners and in our case also preschoolers what really happens when they use their arms and legs!


Saturday, October 27, 2012

Q-tip skeleton

We are learning about our human body and this time it is about skeleton. The kids are finding it exciting to learn about how their body moves and what are bones made of. As a fun craft we had them build a skeleton using q-tips. This could also be a great activity for Letter Q or for Halloween.

We used black construction paper and thin q-tips. Have the kids cut the q-tips into smaller pieces for bones such as fingers or toes. They loved this. It was nice to cut something other than paper :-)


We helped the little guys to squeeze the glue onto the paper but then they had to place the q-tips the way they wanted them. 


And last on the list is to add the skull! We used white pencil. You could also use white crayon, paint or cotton balls also make for a cute skull. You can add googly eyes!


Thursday, October 25, 2012

Making pattern using nails

Little kids are working mainly on numbers these days but we are trying to include some other material into their curriculum to refresh their skills. One of them is pattern. This week is the letter N on our schedule so we called these pegs "nails" and created a pattern using the different colors and the wooden board. This is a Montessori style activity.