Showing posts with label science. Show all posts

Thursday, March 21, 2013

Jupiter's Storm Experiment

What is the red spot that we see on Jupiter's surface? It is a powerful storm that seems to be never ending. We used some kitchen supplies to reenact this fenomena.

What we used:
bowl
milk
dishwashing soap
food coloring


 Pour milk into the bowl and drop couple drops of 2 different colors of food coloring into it, in the same spot.


Carefully using your hands swirl the milk around.


Then drop one drop of dishwashing liquid right in the middle of the color spot. See the cool reaction.


Swirl the bowl one more time and you have an image of the swirling storm on Jupiter!


The kids didn't stop there - they kept on playing with the food coloring and dishwashing soap effect - they loved that!

Tuesday, March 19, 2013

Saturn's rings experiment

Our next science experiment that involves the Planets was all about the Saturn's rings. We wanted to show why we see the ring as a whole ring and not just icy particles floating around. For that we need:

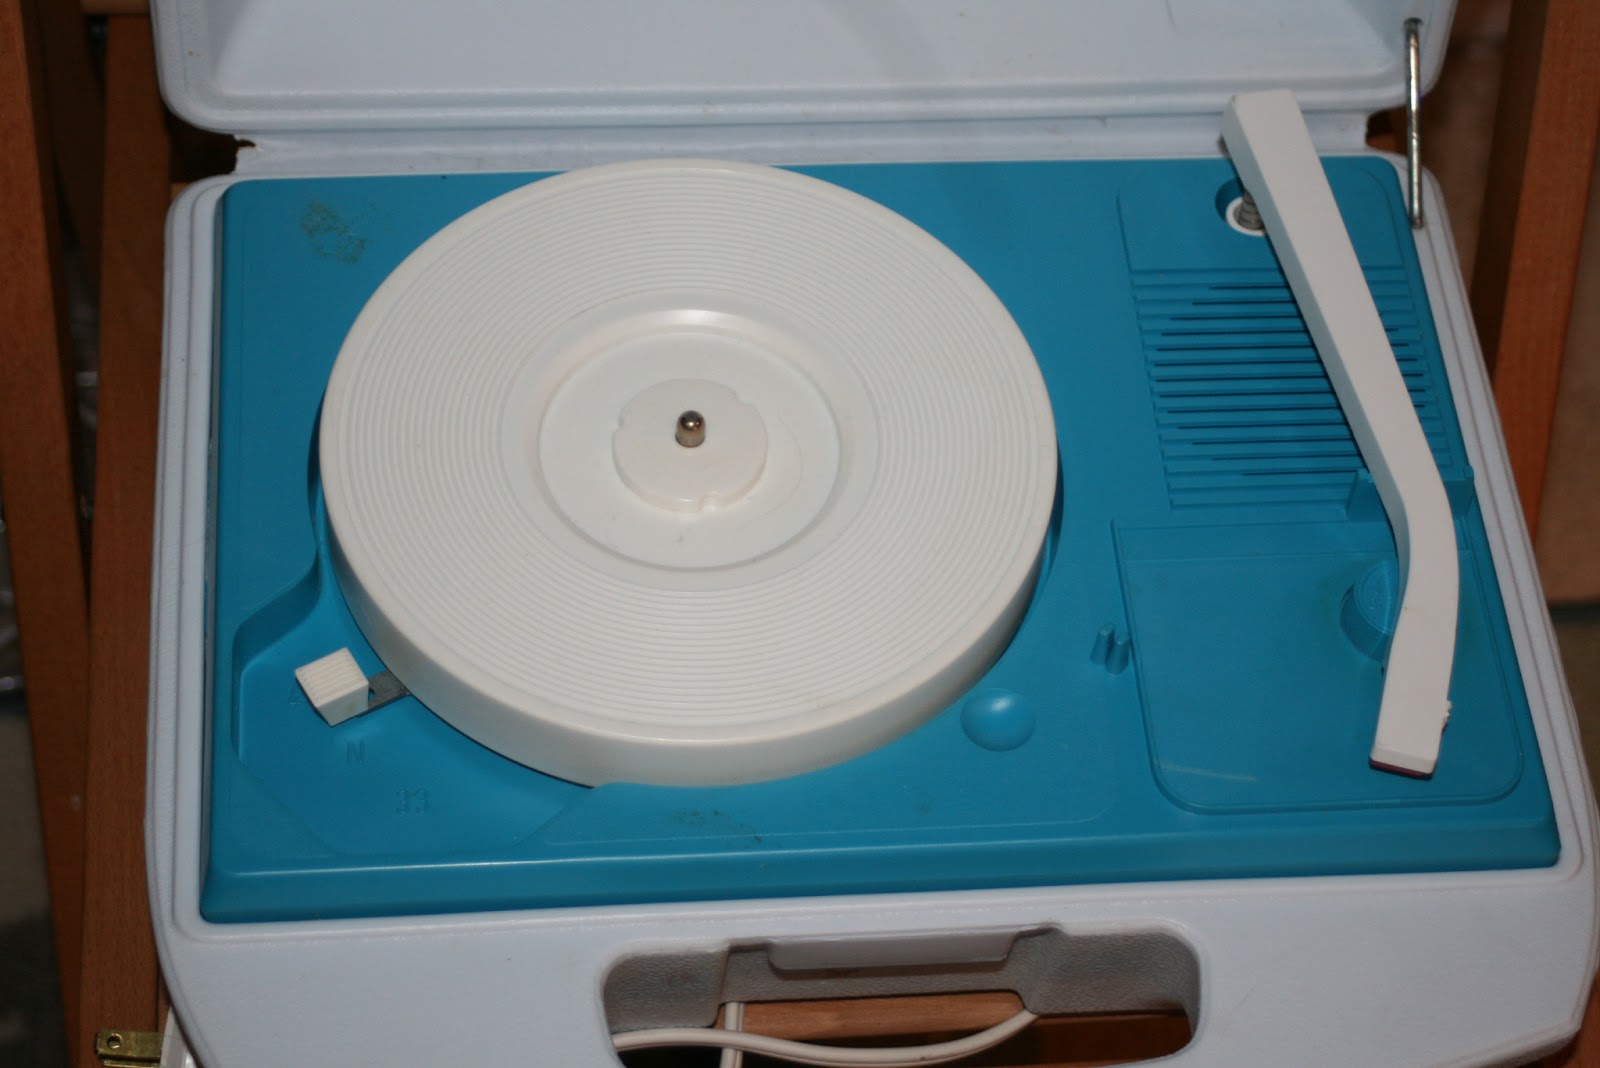
a record player
black construction paper
chalk
small particles such as - ice cream salt (which is perfect because it looks like ice crystals), sand, glitter, rice
glue
camera


Take the black paper and place it on top of the record player, making a hole through the middle part. Take the chalk, place it sideways, and carefully trace the circle shape of the record player. Older kids can do this themselves.


 Have the kids cut the circle out.


Give each kid a bowl with the small particles.


Have them glue it on the outer side of the circle. When they put the glue down, smudge it a bit with the finger to create bigger surface that the particles could stick to.


Let it dry.


When it dries, place it on the record player and talk about the particles being visible as individual particles when they are not rotating around the planet.


But what if you turn the record player on and make them rotate, just like the actual particles rotate around the Planet Saturn? Place your camera on the tripod and set your exposure on longer time.  This is one of our result pictures.


We tried several different variations of materials, thickness of the rings, and speed of the record player. See another picture, where the ring is thicker.


Result picture...


Have fun experimenting!


Saturday, January 19, 2013

Create your own planets - Solar system art project

The Solar System is on our schedule for the second time in the past 3 years. This is one of the topics the kids enjoy very much and they choose it every time I ask them what they would like to learn about. To kick off the unit, we read the book "There is no place like space" from the Dr. Seuss collection, and since the Cat in the Hat has his own planet at the end of the book, we asked the kid sto design their own Solar system. 

They decided to start by making the stars. They took black construction paper and white paint and by flipping the paint brush's bristles, they splashed the paint on the paper, which makes it look like a galaxy , no kidding!


Then they got down to the floor and traced different sizes of circular objects on an easel paper. 


We separated the project into 3 days. This time they colored their planets with markers, choosing their own design. We did stick to 8 planets but they had a free choice of colors and sizes. They got more creative as they went on.


Here they are ready to glue their planets to the "Space" picture. 


And now there is a new System up in Space! It's The Adi System!


Saturday, January 12, 2013

How many drops of water will fit on a penny

In math we are learning about money and the value of money. I came across this experiment, which brought me back to my school years. Kids have to estimate how much water will fit on their penny. Perfect experiment that fits with science as well as with math.

Then they take their dropper, fill it up with water, and keep dropping the water slowly on the penny. Count the drops. Who was the closest? Do you have more kids? You can see who was the furthest or the next closest. Write it down and compare.


Wednesday, May 2, 2012

More fun with baking soda and vinegar

We all know what to expect when we combine baking soda and vinegar. We mostly use it for volcano explosions. Here is a little twist to the experiment that makes kids scream (in a good way) and ask for more!

You will need:
see-thru containers
vinegar
food coloring
deep tray
spoons
baking soda

Pour pure vinegar into the containers. Have the kids pick their color and let them pour it in and mix. We also mixed red and yellow for orange and blue and red for purple. Place the containers in the deep tray.


Give kids some spoons and let them fill the containers one by one with a whole lot of baking soda (that depends on how much excitement you are looking for).


Watch what happens and imagine four kids screaming with excitement at the same time!


Now you see why you need the deep tray!


It was an ongoing excitement. We added more vinegar and that gave us more action. But try to add it only twice, it will not work the third time ;-) The colors are so much fun!


Wednesday, April 11, 2012

Earth Day day-by-day (Day 3)


Let's love our Planet and try each day, 
to do all things the greener way!!!


Day 3 - Upcycle used objects

What exactly means to upcycle something? It means, that you take something that you used and instead of throwing it out, you make something new out of it - something better. Here are few ideas for upcycling with small kids:


Turn:

- CD into a wind chime
- plastic milk jug into a bird feeder (see our previous post)
- plastic milk jug into a Holiday decoration
- broken tiles into mosaic
- turn broken crayons into new ones
- kids' paintings into wrapping paper
- make a house out of a card box
- etc.


We are including a tutorial for the CD wind chime!


You will need:
Used CD
Drill
Markers
embroidery threads
sea shells with holes 


Drill holes into the CD then have kids color the CD for fun.


Then have them put sea shells onto the thread. I was very happy to finally find a good use for some of my sea shells!


Loop the thread through the holes in the CD and your wind chime is finished! (You can see we used paper clips to hold the thread in place. You can do that if you don't have a drill.)


These wind chimes we admired by everyone who came over! And the sound they made was very calming!


Tuesday, April 10, 2012

Earth Day day-by-day (Day 2)

Let's love our Planet and try each day, 
to do all things the greener way!!!

Day 2 - Build animal houses and feeders

Why not build an animal house just for fun! Pretend that a chipmunk could use a fancy entrance to his hole in the ground... or bunnies a nice front porch to their burrow. Kids will come up with endless varieties of stories and a forest is full of material. We tried to use all material that was already broken or peeled of or otherwise destroyed. The sticks were laying on the ground, the moss was taken few days ago from the roof of the cabin, fern leaves came from a spot were they were not  wanted, and rocks were collected by the creek.


A cute shelter was born!


We also painted a bird house and hung it in our back yard. And last but not least, we built a bird feeder from an used milk jug. 


You will need:


used milk jug, washed
knife
wooden dowels or sticks
bird seeds


Cut out two holes for the birds to be able to get in for the seed and four holes for the wooden dowels to help the birds stand on while eating. 


...and no, it isn't squirrel proofed... I found this little guy all squished inside of the jug having a feast... nothing peeking out. ;-)


Saturday, March 24, 2012

What the wind blows


My preschoolers loved this science experiment! It was a time when we learned about wind in our weather unit and I wanted to show them what wind can and cannot blow (well of course I am aware of tornadoes, but I wasn't going to go that far just yet). 

I chose few lite ( feathers, yarn pieces, and paper to name few) and heavy objects (sea sells, rocks and box of crayons) and gave the kids a hair dryer!


The feather were gone with the wind...


He just couldn't resist :-)


The sea shells wouldn't move (I chose bigger one).


Nope, box of crayons wouldn't let the wind win either.


Paper heart was moving (it was around Valentine's Day so this object was perfect for demonstration)


After each object, the boys wrote down the data they collected (I really just had them underline the objects with either of two colors - blue for moved, red for didn't move). 


And look what we made during this class!!! Recycled wind chimes! I will post tutorial next!